How to Install a Home Security Camera
Quick overview: Installing a home security camera is one of the most beginner-friendly DIY jobs there is — for most modern wireless cameras the only real tool you need is a cordless drill, and the whole process runs from charging the battery to live video in under an hour. This guide walks through every stage: charging and connecting first, choosing the spot and power source, drilling and mounting, aiming the lens, and verifying alerts so your camera actually does its job. If you’re installing a permanent wired or PoE system, we cover that path too.
Before You Drill: Charge and Connect First
The single most common mistake is mounting the camera before setting it up — then discovering it won’t connect once it’s eight feet up a wall. Do the software side at the workbench first.
- Fully charge the battery. If it’s a battery or solar camera, top it up over USB-C before you go anywhere. A full charge also lets you confirm the camera powers on and isn’t dead out of the box.
- Install the app and create an account. Download the manufacturer’s app and register before touching the camera.
- Connect to WiFi at close range. Set the camera up within about 10–15 feet of your router. Most WiFi cameras use the 2.4 GHz band, not 5 GHz — if setup fails, that’s usually why. Our guide on connecting a security camera to WiFi covers the 2.4 GHz pitfalls in detail.
- Confirm the live feed works in the app before mounting. Once it’s connected and recording, you can move it to its final spot.
Step 1 — Choose the Location and Power Source
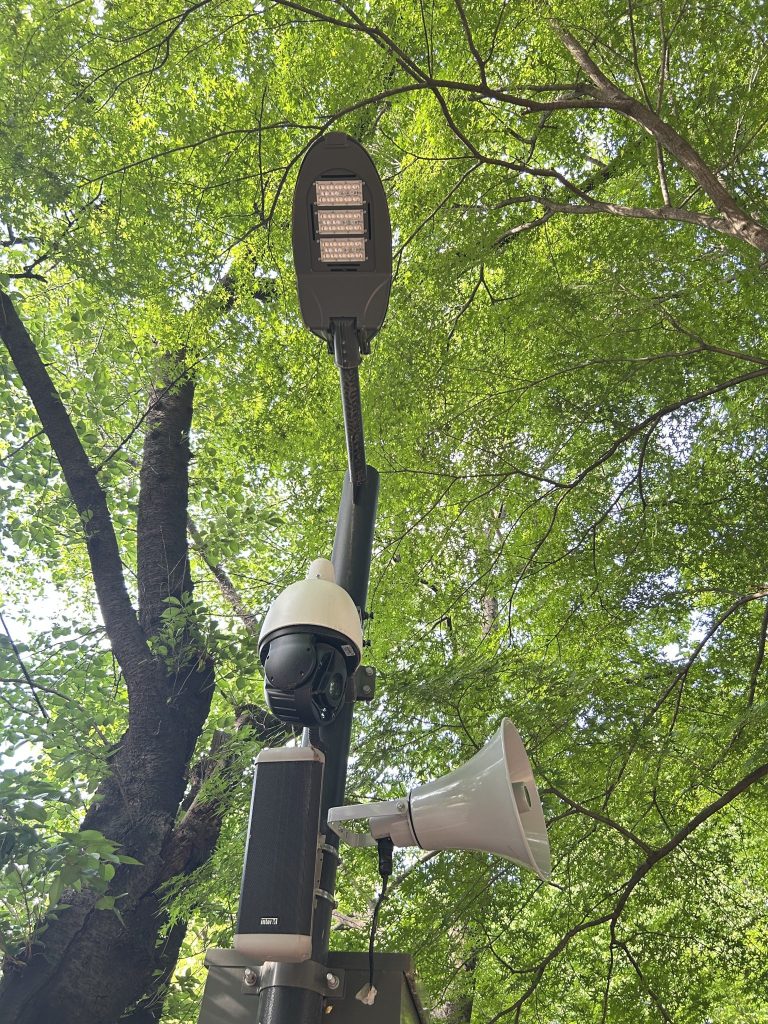
Where you mount the camera drives everything else. Aim for the spots intruders actually use — the front door is the most common entry point, followed by back doors, ground-floor windows, the driveway, and the garage. Mount outdoor cameras roughly 8–10 feet high: high enough to deter tampering, low enough to still capture identifiable faces. Our full guide on where to place security cameras maps out the highest-value positions.
At the same time, decide how the camera gets power, because that determines what you’re mounting and drilling:
| Power type | Install effort | Best for |
|---|---|---|
| Battery only | Easiest — screws only, no wiring | Renters, low-traffic spots |
| Solar + battery | Easy — mount camera plus a panel | Sunny outdoor spots far from outlets |
| Plug-in wired | Moderate — needs a nearby outlet | Spots near a socket, continuous power |
| PoE (Ethernet) | Hardest — run cable + switch/NVR | Permanent 24/7 recording systems |
Step 2 — Gather Tools and Hardware
For a typical wireless install you need very little:
- Cordless drill with a masonry bit (for brick/stucco) or a wood/standard bit (for siding/fascia).
- The screws and wall anchors included in the box — most outdoor mounts use weatherproof outdoor woodscrews.
- A tape measure and, ideally, a small level.
- A pencil to mark holes, and a ladder rated for your height.
- For solar: the panel, its bracket, and the cable that links it to the camera.
You don’t need to be an experienced handyman. A cordless drill and a tape measure cover the vast majority of battery and solar installs.
Step 3 — Mark and Drill the Mounting Holes
- Hold the mount in place at your chosen height and angle, use the level to keep it straight, and mark each screw hole with a pencil.
- Drill pilot holes at your marks. Use a masonry bit for brick, mortar, or stucco; insert the supplied wall anchors into masonry so the screws bite. For wood siding or fascia you can usually drive screws directly into a pilot hole.
- Mind what’s behind the wall. Avoid drilling blindly near electrical lines or plumbing. On siding, anchor into a stud or solid fascia board where you can.
- Attach the mounting bracket with the supplied screws and confirm it’s solid before hanging the camera — a loose mount sags over time and ruins your aim.
Step 4 — Mount the Camera and Aim It
Secure the camera to the bracket, then aim it deliberately rather than eyeballing it:
- Tilt the lens slightly downward so it captures faces, hands, and anything a person is carrying — not just the tops of heads or empty sky.
- Point away from the sun. A camera staring into direct sun gets washed out by glare. Face it so it gets indirect light instead.
- Frame the target zone. Use the app’s live view while you adjust so you can see exactly what the camera sees and tweak the angle in real time.
- Avoid aiming too high. Mounting at 15 feet with a steep downward angle makes faces unidentifiable — keep it in the 8–10 foot range with a gentle downward tilt.
Step 5 — Set Up Solar (If Applicable)
If you bought a solar-assisted camera, the panel needs its own good spot:
- Pick a sunny, unobstructed location — ideally south-facing in the Northern Hemisphere — so the panel gets maximum daily sun.
- Mount the panel to its bracket with the supplied screws, then connect it to the camera with the included cable.
- Route the cable neatly so it isn’t a snag hazard or an easy target to cut.
- Monitor charge for the first week and adjust the panel’s angle if it isn’t keeping the battery topped up.
Step 6 — Configure Recording and Alerts
A mounted camera that nobody tuned will either spam you or miss what matters. In the app:
- Set activity zones so the camera alerts on your driveway and door, not the public sidewalk or a busy street.
- Enable smart detection (person/vehicle/package) if available to cut false alerts from moving branches and passing cars.
- Choose recording mode — motion-only for battery cameras (saves power and storage) or continuous if it’s wired/PoE and you want 24/7 coverage.
- Confirm your storage plan. On cloud brands you may need a subscription to save clips; on local-storage cameras insert a microSD card or set up the base station. See our subscription guide for what’s required per brand.
Step 7 — Test Everything Before You Walk Away
- Confirm the camera powers on and shows a live feed at its final mounted position.
- Walk through the scene and verify you get a motion alert on your phone.
- Check the night view after dark — IR or color night vision should clearly cover the target area.
- Verify the recording saved and that you can play it back.
- For battery/solar cameras, watch the charge level over the first week and adjust placement or panel angle if it’s draining.
Common Installation Mistakes to Avoid
A few avoidable errors account for most disappointing installs. Steer clear of these and your cameras will do their job from day one:
- Mounting before connecting. The number-one mistake. Always confirm WiFi and the live feed at close range first, then mount.
- Mounting too high. A camera at 15 feet captures the tops of heads, not faces. Stay in the 8–10 foot range with a slight downward tilt.
- Pointing into the sun. Direct sun washes out the image and silhouettes people. Aim cameras away from where the sun sits during the day.
- Ignoring signal strength at the final spot. A camera that pairs by the router but drops out once mounted needs a mesh node, extender, or a wired/PoE option — test before you commit the mount.
- Skipping activity zones. Without them, a camera near a road or sidewalk floods you with useless alerts until you stop checking them.
- Leaving cables exposed. A dangling power cable on an outdoor camera is both a snag hazard and an easy thing to cut. Route and secure cables, and use a weatherproof cover outside.
- Forgetting the storage plan. Mounting a cloud-brand camera without a subscription means it won’t save the footage you’d actually want — sort storage out before you climb the ladder.
Seasonal and Long-Term Maintenance
Installation isn’t quite “set and forget.” A little upkeep keeps cameras reliable: wipe the lens periodically so dirt, cobwebs, and water spots don’t blur footage; for battery cameras, monitor charge levels and recharge before they die (or add a solar panel); check that firmware updates are installing; and after big storms or seasonal changes, confirm mounts are still solid and aim hasn’t shifted. In winter, expect battery cameras to need charging more often, since cold reduces battery life. A two-minute check each month prevents the unwelcome surprise of discovering a camera was offline exactly when you needed it.
A Note on Wired and PoE Installs
Plug-in and PoE cameras follow the same mounting steps but add cable management. For a plug-in camera, plan the run to the nearest outlet and use a weatherproof cable cover outdoors. For PoE, you’ll run an Ethernet cable from the camera to a PoE switch or an NVR — this is more work and may involve drilling a pass-through hole into the home, but it delivers rock-solid continuous power and recording with no battery upkeep. If a run is long or crosses tricky spaces, this is the one step where many people bring in an electrician or installer.
Frequently Asked Questions
Can I install a security camera myself?
Yes — most modern wireless cameras are designed for DIY installation and need only a cordless drill and a tape measure. You charge the battery, connect to WiFi in the app, mount the bracket with the included screws, and aim the lens. Permanent PoE or hardwired systems are more involved because they require running cable, but battery and solar cameras are genuinely beginner-friendly.
How high should I mount a security camera?
Mount outdoor cameras about 8 to 10 feet high. That’s high enough to keep them out of easy reach for tampering, but low enough to still capture identifiable faces. Avoid going much higher — mounting at 15 feet with a steep downward angle makes faces unrecognizable, which defeats the purpose. Tilt the lens slightly downward for the best view of faces and hands.
Do I need to charge a battery camera before installing it?
Yes, fully charge the battery over USB-C before installation. Charging first lets you confirm the camera powers on and complete WiFi setup at the workbench, so you’re not troubleshooting connectivity from the top of a ladder. After it’s set up and recording, mount it in its final location.
Should I set up the camera before or after mounting it?
Always set it up first. Charge the battery, connect to WiFi within 10–15 feet of the router, and confirm the live feed works before you drill anything. Many WiFi cameras connect only on 2.4 GHz, so doing setup at close range avoids discovering a connection problem after the camera is already mounted high on a wall.
What tools do I need to install a security camera?
For a typical wireless camera: a cordless drill with the right bit (masonry for brick/stucco, standard for wood siding), the screws and anchors included in the box, a tape measure, a pencil, a level, and a sturdy ladder. Solar cameras add the panel bracket and connecting cable. PoE systems additionally need Ethernet cable and a PoE switch or NVR.
How do I install a camera without drilling?
For renters or surfaces you can’t drill, use strong outdoor adhesive mounts or no-drill brackets designed for your camera, or place an indoor camera on a shelf aimed through a window. Adhesive mounts hold lightweight battery cameras well on clean, smooth surfaces, though they’re less secure than screwed mounts and should be checked periodically.
Conclusion
Installing a home security camera comes down to doing the steps in the right order: charge and connect the camera first, choose a high-value location and a power source, drill and mount a solid bracket, aim the lens slightly downward and away from the sun, then tune your alerts and test everything before climbing down. Most wireless cameras need nothing more than a drill and a tape measure. For help deciding which camera to install in the first place, see how to choose a home security camera and our Best Home Security Cameras guide.
Last updated: June 2026
See our main guide: Best Home Security Cameras.