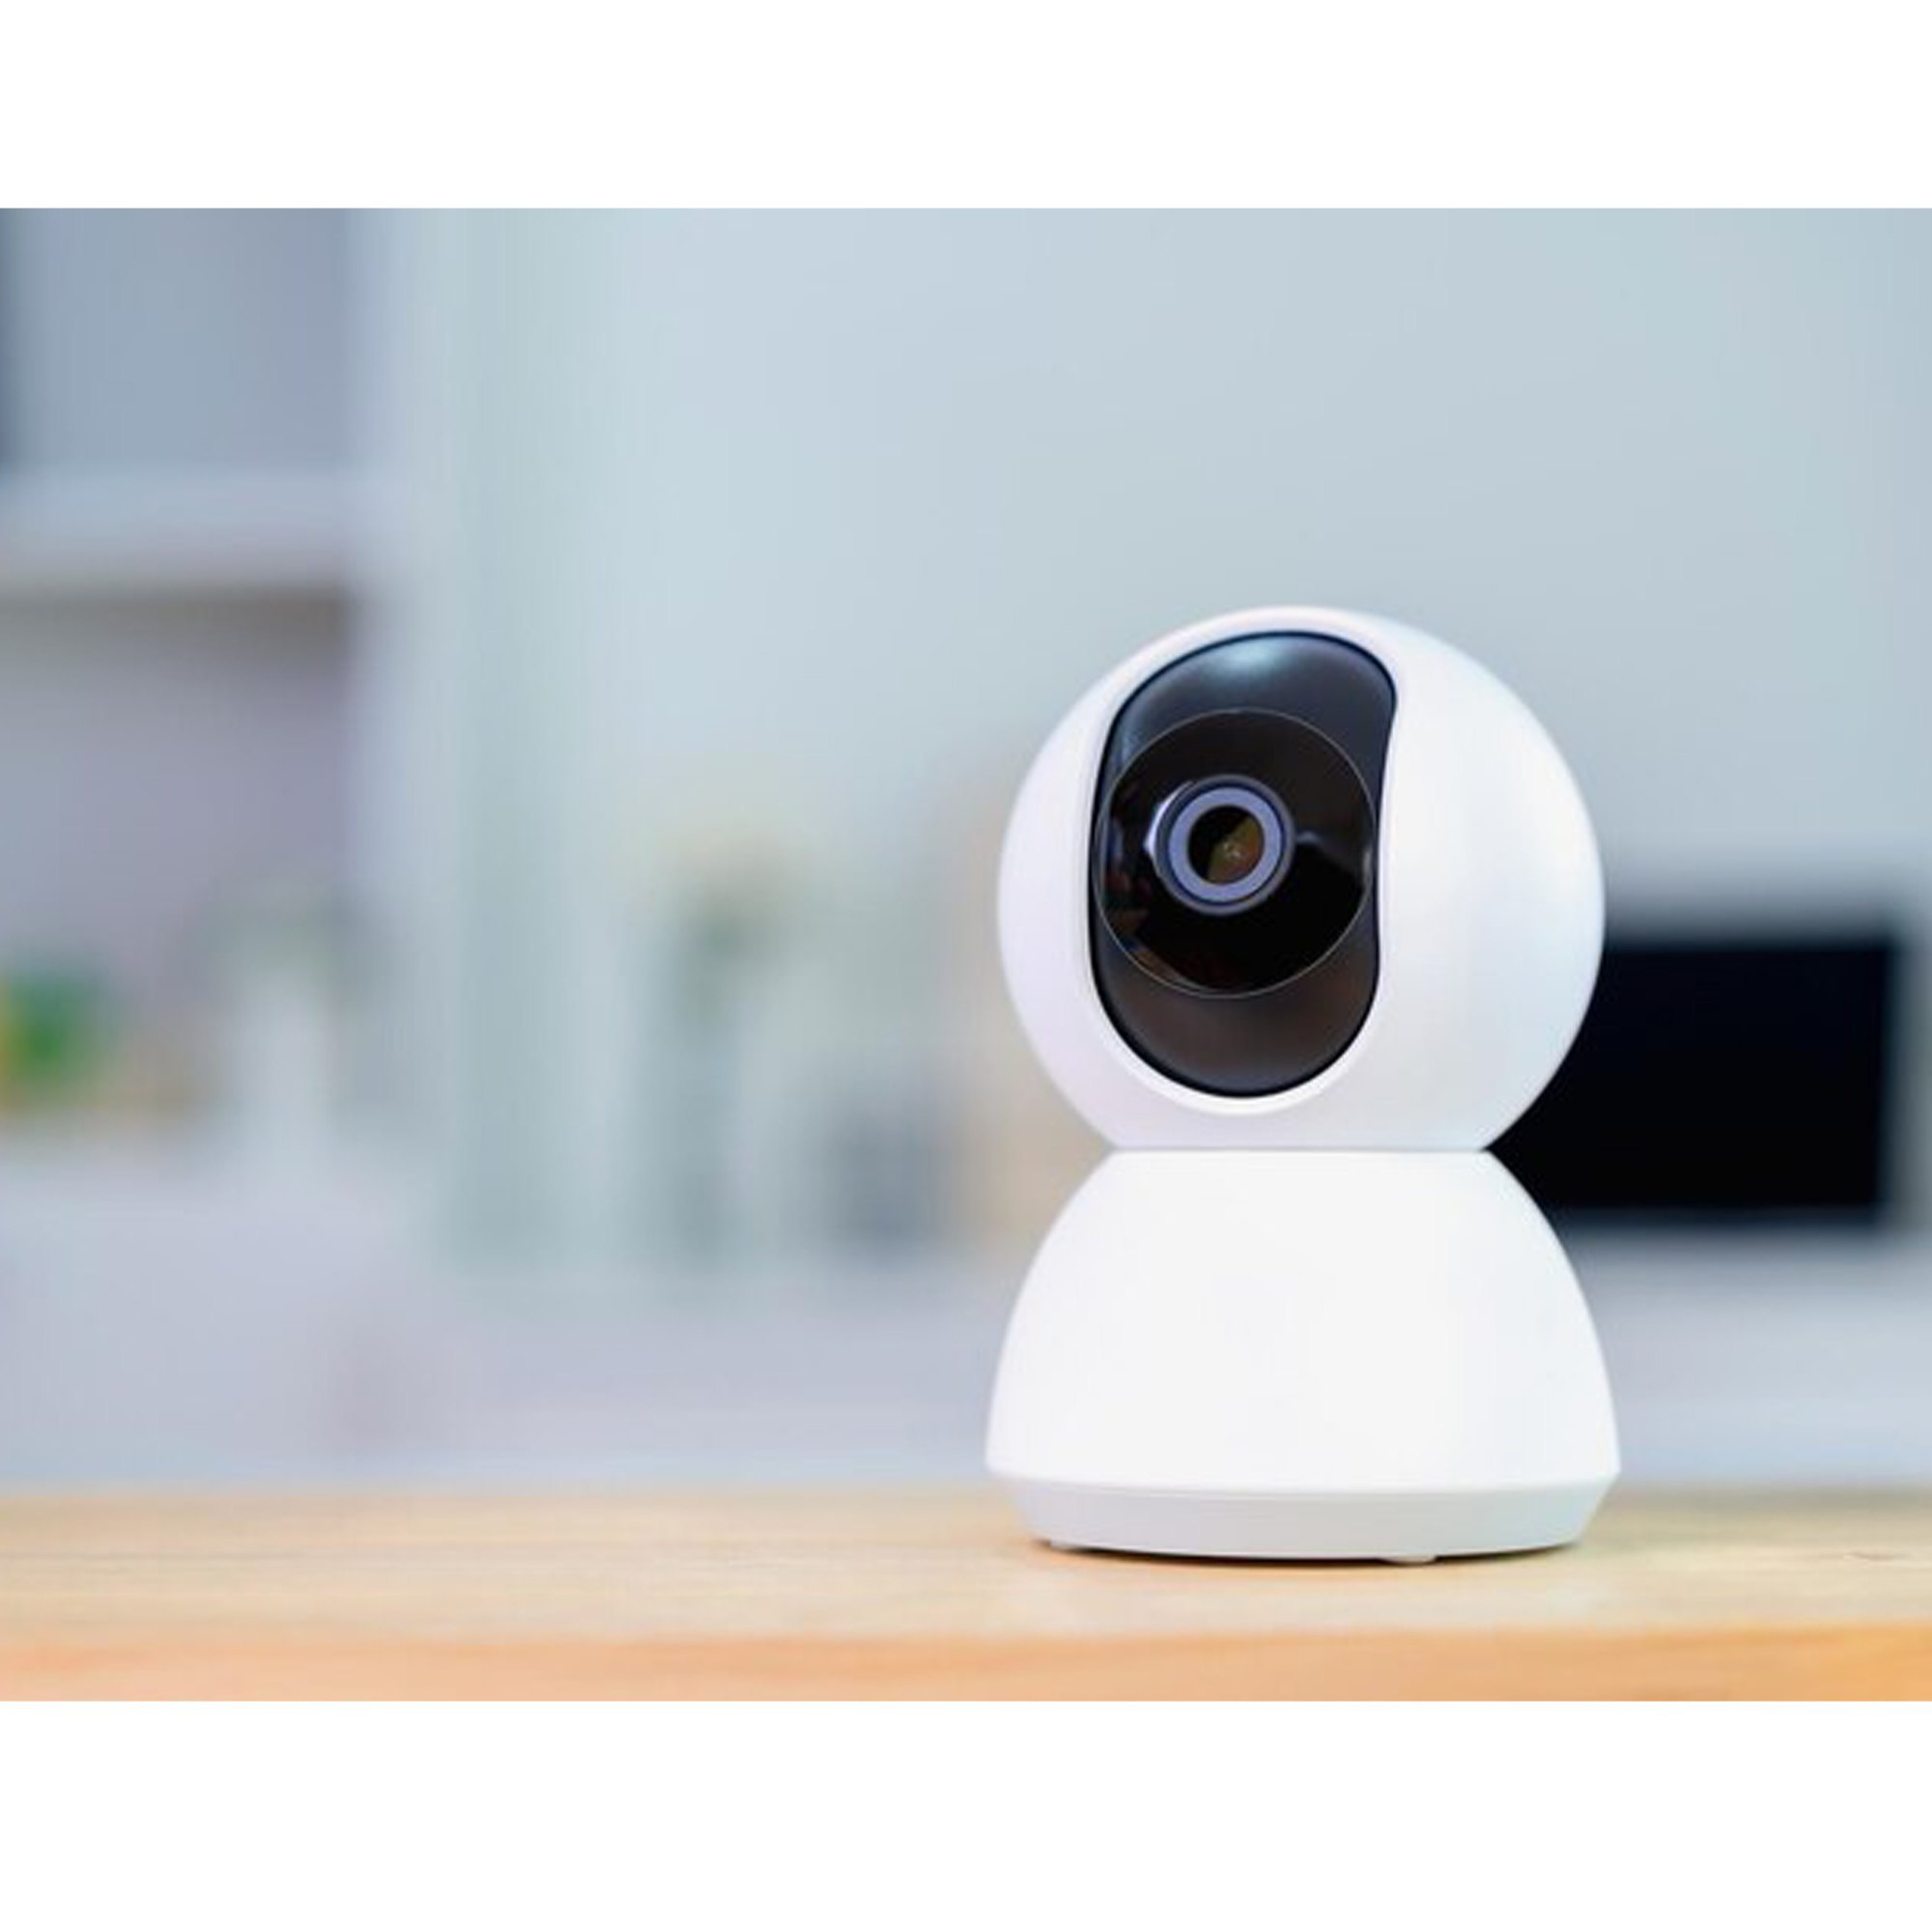
Let’s be honest, that strange noise you heard in the backyard last night probably wasn’t a raccoon. In a world where we’re all looking for a little more peace of mind, knowing Where To Install A Floodlight Camera can be the difference between a restless night and a secure one. It’s not just about slapping a camera on the wall; it’s about strategic placement that turns your property into a smart, well-lit fortress. Think of a floodlight camera as your digital watchdog—it sees in the dark, shines a massive light on anything that moves, and lets you know what’s happening, whether you’re on the couch or on vacation.
But the effectiveness of this powerful tool comes down to one crucial question: location, location, location. Placing it in the wrong spot can lead to blind spots, annoying false alarms from passing cars, or worse, missing the very event you were trying to capture. This guide is your blueprint. We’re going to walk through the best and worst spots, so you can make an informed decision and get the most out of your security investment.
Why Placement is Everything for Home Security
Before we dive into the specific spots, let’s get one thing straight: the placement of your floodlight camera is just as important as the camera itself. A 4K camera with all the bells and whistles is useless if it’s pointed at your neighbor’s cat or a tree swaying in the wind.
Proper placement accomplishes three key things:
- Maximum Deterrence: A visible camera, especially one with a powerful floodlight, sends a clear message to potential intruders: “You are being watched, and you have nowhere to hide.” Most burglars are opportunists, and a well-lit property is a risk they often won’t take.
- Optimal Coverage: The goal is to eliminate blind spots where someone could approach your home unseen. Strategic placement ensures your camera’s field of view covers the most vulnerable areas.
- Reduced False Alarms: Pointing a camera directly at a busy street or a rustling bush will flood your phone with pointless motion alerts. Smart placement minimizes these distractions, so when you do get a notification, you know it’s something worth checking.
The Prime Real Estate: Top Spots for Your Floodlight Camera
Alright, let’s get down to the nitty-gritty. Think of your property as a map with key points of interest. Here are the A-list locations for your floodlight camera.
Above the Garage and Driveway
This is arguably the number one spot for most homes. Your driveway is a primary entry point for both people and vehicles. Placing a floodlight camera here illuminates a huge, high-traffic area.
- Why it works: It monitors your cars, the garage door (a common weak point), and anyone walking up to your home. When I installed my first floodlight camera, this was the spot I chose. The first night, the light blasted on, and I saw a deer family crossing my lawn—a much more welcome sight than an uninvited guest.
- Pro Tip: Mount it high enough to get a wide view of the entire driveway but not so high that you can’t make out faces or license plates. The sweet spot is usually between 9 and 15 feet off the ground.
The Front Door and Porch
While video doorbells are fantastic for seeing who’s right at your door, a floodlight camera mounted above the porch or entryway provides a broader, more commanding view.
- Why it works: It covers the entire approach to your front door, keeping an eye on package deliveries and deterring porch pirates. The bright light also makes it safer and easier for you to find your keys in the dark.
- Pro Tip: Position it to overlook the main walkway and any windows near the entrance. This creates an overlapping field of security with your video doorbell if you have one.
The Backyard and Patio
The backyard is often a home’s most vulnerable area because it’s out of sight from the street. It’s the perfect place for an intruder to take their time.
- Why it works: A floodlight camera here protects back doors, patio sliders, and ground-floor windows. It also illuminates your recreational space, making it safer for evening use and keeping an eye on sheds, pools, or play equipment.
- Pro Tip: If you have a large backyard, consider using more than one camera to cover different zones, or choose a model with a very wide field of view.
The Dark Side of the House
Every house has one—that dark, narrow side yard or alley that feels a bit spooky at night. This is a classic blind spot and a favorite pathway for burglars.
- Why it works: Lighting up this forgotten space eliminates a major security vulnerability. It protects side doors, basement windows, and utility meters from tampering. This is a perfect example of where to install a floodlight camera for maximum psychological impact on a potential intruder.
- Pro Tip: Ensure the camera is positioned to look along the length of the walkway, not just across it, to maximize detection time as someone approaches.
The “How-To” of Installation: Pro Tips for Perfect Placement
Knowing where is half the battle. Knowing how to position it for peak performance is the other half.
How High Should I Mount My Floodlight Camera?
The ideal mounting height is between 9 and 15 feet (about 2.7 to 4.5 meters) off the ground.
This height is a strategic compromise. It’s high enough to be out of easy reach for tampering or vandalism, yet low enough to capture clear facial details and not just the tops of people’s heads. Mounting it too high can also reduce the effectiveness of the motion detector.
Nailing the Angle: Field of View is Key
Don’t just point it straight out. Angle the camera slightly downwards. This helps you capture faces more clearly and reduces the “lens flare” effect from the floodlights themselves.
“A common rookie mistake is creating a ‘security gap.’ The best setups use overlapping fields of view from multiple cameras to ensure there are absolutely no blind spots. Think like an intruder: where would you hide? Put a camera there.”
- David Chen, Security Consultant
Also, be a good neighbor. Angle your camera to focus solely on your property. Pointing it into a neighbor’s yard or windows is a major privacy violation and can lead to disputes. Check your local regulations on surveillance to be sure.
Power and Connectivity Considerations
Most floodlight cameras are hardwired, meaning they replace an existing exterior light fixture and connect to your home’s electrical system. This is great for reliability—no batteries to change. However, it means your decision on where to install a floodlight camera is often limited by where you have an existing electrical junction box.
If you’re installing a new one, you’ll likely need an electrician. For wireless models, you still need a power source, but your main concern will be Wi-Fi signal strength. Before you drill any holes, test the Wi-Fi signal at your desired location with your smartphone. A weak signal will result in laggy video and missed recordings.
Common Mistakes to Avoid When Installing
- Facing Direct Sunlight: This can wash out the image during the day and potentially damage the camera’s sensor over time.
- Obstructions: Watch out for tree branches, gutters, or architectural features that could block the camera’s view or the spread of the floodlights.
- Ignoring Motion Zones: Modern cameras let you create custom motion zones. Use this feature to tell your camera to ignore the busy street but pay close attention to your walkway. This is the secret to avoiding “notification fatigue.”
- Forgetting About the Light: Remember, it’s a floodlight! Don’t aim it directly into your own or a neighbor’s bedroom window.
Frequently Asked Questions (FAQ)
Q: Can a floodlight camera be installed under an eave or soffit?
A: Absolutely. This is a great location as it provides some protection from the elements. Just make sure the eave doesn’t obstruct the camera’s view or the motion sensor’s detection range. Many cameras come with angled mounting brackets for this exact purpose.
Q: Do I need an electrician to install a floodlight camera?
A: If you are replacing an existing light fixture and are comfortable with basic electrical work (like turning off the breaker and connecting wires), you can often do it yourself. However, if you’re running new wiring or are unsure, it is always safest to hire a licensed electrician.
Q: Where should you not install a floodlight camera?
A: Avoid installing it too low where it can be easily tampered with, in a spot with a weak Wi-Fi signal, or pointed directly at a neighbor’s private property. Also, avoid locations where the motion sensor will be constantly triggered by routine traffic on a public street.
Q: How far can a floodlight camera detect motion?
A: This varies by model, but most high-quality floodlight cameras can detect motion from 30 to 50 feet away, and some advanced models can reach even further. You can typically adjust the sensitivity within the camera’s app to fine-tune the detection range for your specific needs.
Q: Is one floodlight camera enough for my whole house?
A: For a smaller home or one with a simple layout, one strategically placed camera (like over the garage) might cover the most critical areas. However, for complete coverage of all entry points and blind spots, most homes will benefit from two or three cameras.
Your Home, Secured and Illuminated
Choosing where to install a floodlight camera is the most critical step in upgrading your home security. By focusing on key entry points like your driveway, front porch, and backyard, you create a powerful deterrent that works day and night. Remember to think about height, angle, and potential obstructions to get the clearest view possible. A little bit of planning goes a long way, transforming a simple piece of tech into your most reliable guardian and giving you that priceless feeling of security. Now, you can start mapping out the perfect spots for your new set of eyes.